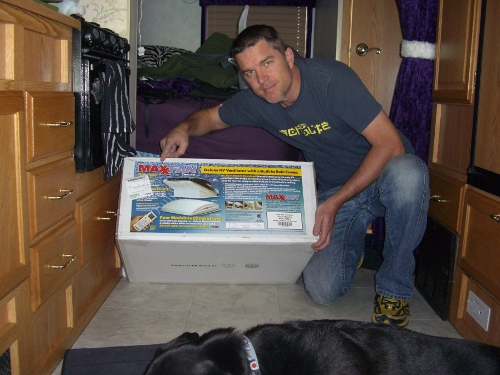
Note: This is a project post. How to (how I) install a Maxxair® MaxxFan air vent cover fan thing on an RV. You’ll probably want to take notes.
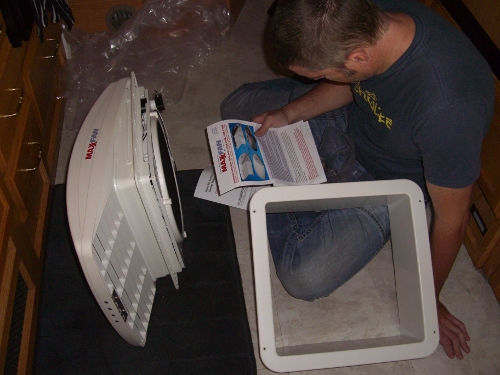
This is this first “major” (having the potential to screw up our “house”, i.e. break/disfigure stuff, cause leaks, self electrocution, fire, structural damage, etc.) project I’ve undertaken in the RV. Although I strung it out over the course of at least 2 months from initial purchase to finished installation it was WELL worth the wait. MaxxFan=Best…purchase…EVER. Turns out actually best gift ever. See, after purchasing the fan our loving family members (thanks Bill and Pam) mentioned they had wanted to get us a gift for the RV and since we didn’t “need” anything else at the time, they offered to reimburse for the fan. AWESOME! We accept!
Having never done anything like this before it was going to be a learning process but how hard could it be right? Cue ominous music. Ok, it actually wasn’t THAT bad but it did have a few daunting (to the unlearned installer – ME) issues.
The biggest of those were screwing a bunch of holes into our roof and making sure that they were completely sealed so water didn’t leak in and the other was having to bore through the ceiling “foam stuff” (sorry to use such technical jargon to you non fan installation professionals out there…i’ll try to dumb it down for you as best I can) to run the electrical to an existing 12v line.
For the uninitiated there are 2 power systems on an RV. 12v DC (battery power) and 110v AC (shore or generator power). Our new fan (along with all our lights and miscellaneous other items) runs off of the 12v DC power system.
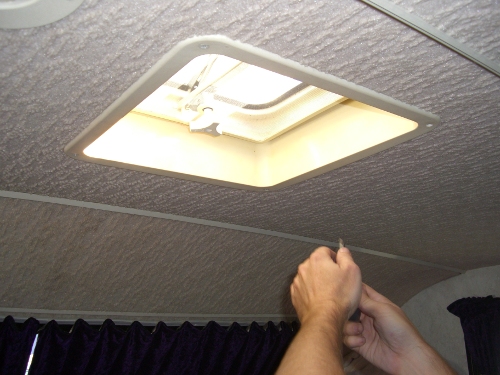
First things first. Removing the existing vent. The vent we wanted to replace with our new MaxxFan was in our front over cab “presidential suite” area. There weren’t any instructions on how to take it off so I just did what seemed obvious. First I unscrewed the inside screws (turns out this just held on an inner cover of sorts that was purely cosmetic).
There was nothing else I could do from the inside so I got on the roof to take a look. There was this rubbery like sealant all around the edges that obviously had to be removed. Piece of cake I thought, just grab a scraper and bing bang boom peel it off in a few minutes. Uh, WRONG.
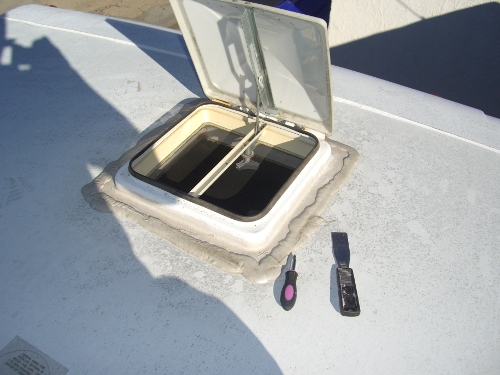
Evidently Dicor (name of said sealant) is made by deviant government clown scientists that get sick pleasure knowing there are scraper wielding RV owners worldwide cursing to themselves on a roof somewhere. I hope you sickos realize that a fair portion of RV owners are in their golden years and may not have the constitution to withstand your Tom Foolery. Just sayin’.
So anyways, after way too long scraping the Flubber from around the old vent I finally was able to get it off enough to break the seal and lift off the old vent. To discover… YES, sticky black goopy stuff! Yay!!! Yayyyyyy!!! Seriously clown scientists. I will find you. So yeah, evidently there’s this other “awesome” compound used to stick stuff to other stuff and it’s basically like black marshmallow tar honey. You really should get some for the kids to play with. It’s super great the way it sticks to your clothes and fingers and basically ruins everything it touches. I seriously felt like it was going to consume me like a blob and turn me into evil black Spider Man.
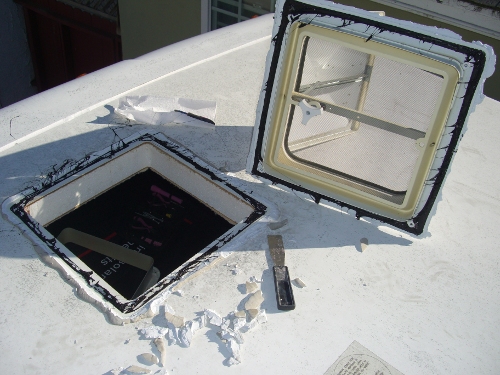
I think Bree should be the new black marshmallow tar honey spokesmodel.

After removing the old vent and de-gooping everything it was time to put on our new baby. This went pretty smoothly actually. I was kinda nervous at screwing in so many screws to the roof but it had to be done. There was basically this support frame thing that needed to be screwed into the roof and then the fan and cover unit attached on to that. Before placing the frame down I put a bead of Dicor around the circumference of the opening, then set it in place and screwed in all of the screws.

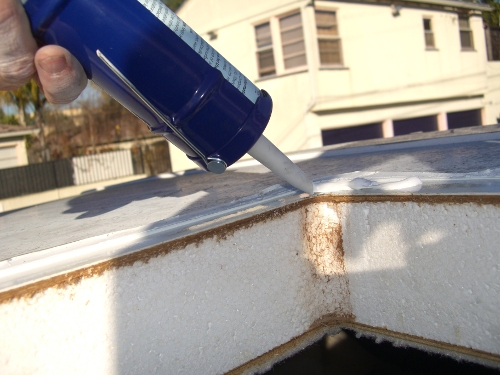
Next thing was to just put a buttload (wow, sorry, there I go again with the tech jargon) a super LOT of Dicor all over that bad boy. Cuz water leakage=bad. I didn’t know what was too much or too little so I just kept gunning that goop on until everything seemed overly goopified. (“Say Goop again Mother F$&#er”)
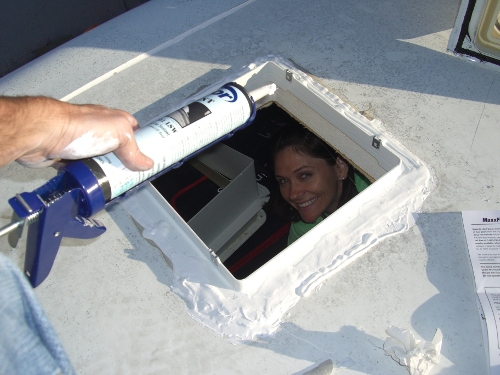
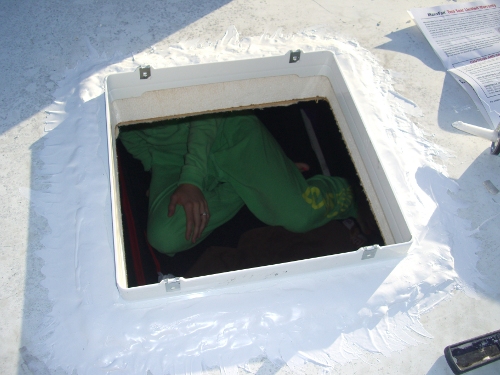
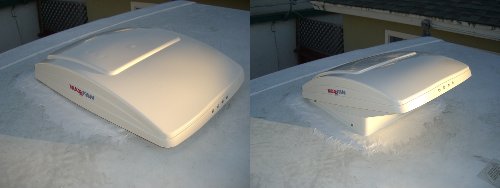
The fan unit attached really easily to the frame and we were almost done. Well, technically we were done except for having to attach the power lines and putting on the new cosmetic inside cover. This is where the 2 month install comes in to play. Someone had told me that when I took the old vent off there would most likely be 12v wires in the space or I could just feel around in the ceiling and find them. ERGHHHH, wrong. Nothing. No wires. No ceiling space. Nothing. Just the styrofoam looking ceiling material solid all around. Meh.
I stared at that thing for weeks. Putting it off, putting it off. I knew that I had to somehow splice the electrical wires dangling from the fan to live wires somewhere but since they weren’t in the opening of the old vent it wasn’t going to be an easy or obvious undertaking. It actually would have been fairly easy if I just wanted to run wires across the ceiling but that’s way too ghetto and not how we roll. So not an option in my opinion. It had to be clean and look good. Note: it’s entirely possible nay PROBABLE that there was a much simpler and easier way to do what I ended up doing but this is how I did it.
The time had come. We were staying out in the middle of nowhere boondocking down some dirt road on Lake Mead and dammit it was time we had a battery generated fan breeze in our house.
There was a light in the presidential suite which obviously had to have power going to it so that became the goal. Get the wires over to the light wires and splice them together. I dreaded trying to punch a hole through the ceiling but every time we’d be somewhere like an RV shop or anywhere with a technician I’d ask them how to do it and they all said the same thing. Just go through the ceiling foam and run the wires over. Easier said than done. Unless there’s some secret tool that they knew about and I didn’t this was not smooth. The foam stuff is harder than it looks and it’s not like you can just push something through it. At least I couldn’t. Not to mention the “thing” you’d be pushing needed to be long enough so span the entire distance AND since you had to do it from beneath whatever it was would be going slightly upwards, and not straight across.
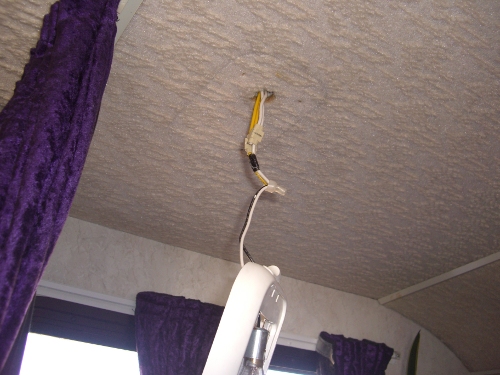
So I did what I think probably any highly specialized, knowledgeable, technician/installer would do at that point. I took the metal rod out from our shower, jabbed it into the foam, and proceeded to bang the crap out of it with a hammer taking about an inch of foam out every 20 whacks. Genius, I know!
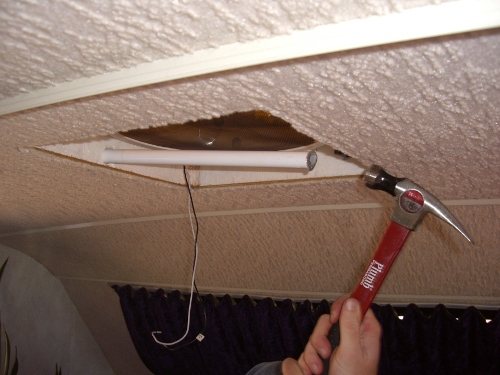
So yeah. It worked. But it took ForEVER to get through. Oh I know I know, there was surely a better way to do this job but I didn’t know what it was so I did the best I could. I FINALLY got through the foam and was able to wrangle the wires through, splice those suckers together, re-engage the power, and VOILA! Success. Sweet sweet artificial airflow. It worked. The massive blades quietly whirred away and a deliciously sweet breeze flowed by.
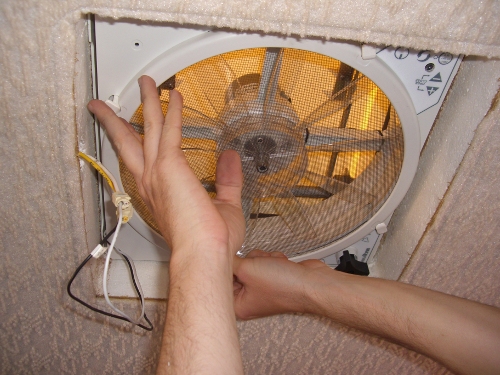

It took a few more weeks to get the inside cover put on as it had to be hand sawed down to size (I didn’t have a saw) so that didn’t get finished until we we finally had saw access. But saw access we got and when I got it cut down, mounted it, and put in that last screw it was pure bliss!
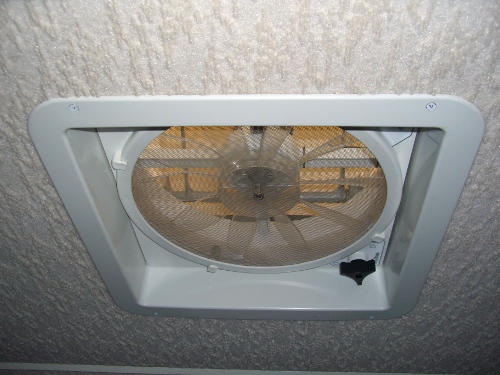
So that’s it. Bing bang boom. Easy. Simple..as..pie. I think I will call my eBook Matt’s Miraculously Marvelous MaxxFan Installation Guide – A Simple 2 Month Instruction Primer.
Tally ho…
Breezemeister,
Matt
P.S. Seriously though, if you have an RV and you’re looking for or thinking about getting a vent cover/fan, the Maxxair® MaxxFan is by FAR the best purchase we’ve made. I can’t imagine living without it. We got the deluxe model with the remote control so we can lay in bed and open the vent, turn on the fan (has both in and out features, to either suck air in our exhaust it out (the best feature I think)) Love love love it. The best is to turn it on “air out” (exhaust) then close all the windows except for the bedroom. It pulls air in through the window making a breeze where there is none and pulling it through the length of the RV. Brilliant!
awesome. well done. how are the RV repairs coming along otherwise?
Thanks. We’re just waiting for the shop to call and let us know when the parts come in so we are standing by basically driving around a busted up Dolly. :)
But we’ve got airflow!!!
I’m impressed – I never knew you were such a DIY guy! But how do you know that it doesn’t leak since you’ve been in the sunny south all this time? I think you need to road test it by coming to the Pacific Northwest where you’re guaranteed to get it wet – oh yeah, baby, we got rain!!! Just teasin’ but I’ve got to get in my plug for a trip north :-)
I know I know. We’ll be there!
All of this is continuing into CLASSIC
We’re here for you Pat!
Wow….If you just had me there to go over every detail of the directions and slowly proceed with the install, things would have gone much smoother….I mean, you know how patient I am with “IKEA” style projects!! But seriously, very impressive…not something I would EVER take on or even discuss thinking about discussing in further detail. Hope Tally Ho continues to rock on!
Thanks!!
With anything that requires power…. first remember to ARC – Always Run Cable.
It’s too bad there aren’t many jobs that would pay you to break s%*t.
Because you’re, like, rilly rilly good at that.
Yeah, if I could find a gig where I could break stuff AND eat… Wow, nirvana.
Seriously LOL!!! Great job- both on the fan and the entertainment! : ) Love you
Hey Matt, and Breezy!
Just finished reading all your Blog entries. They are so great. You guys are both such creative writers. I’m very impressed by your handyman skills, too, Matt – Great work on that fan unit!
Thanks! And welcome aboard :)
[…] is a “Shirt Closet”. We store all of our shoes in here as well as the remote for the Maxxair fan (BEST PURCHASE […]